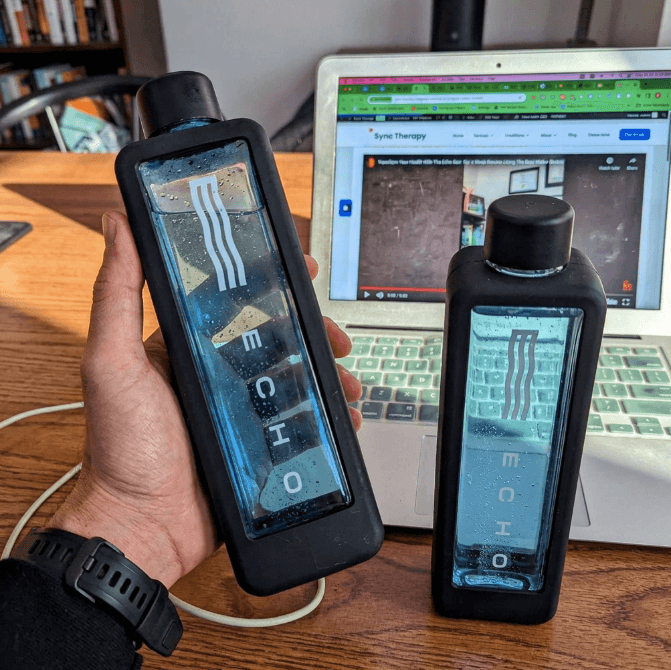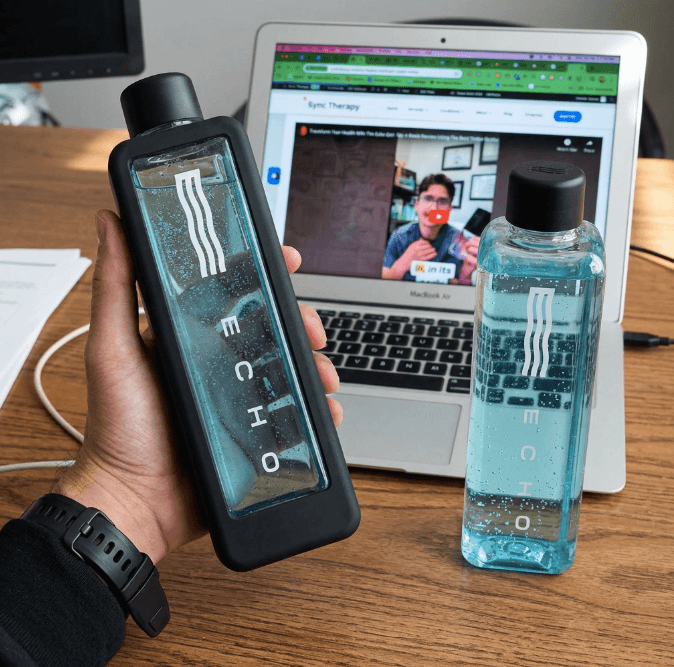
In my clinical practice, I constantly remind patients that proper echo flask cleaning is the single most important factor for maintaining peak molecular hydrogen output. As a Registered Massage Therapist and biohacking researcher, I evaluate hydration tech based on sustained clinical outcomes, not just day-one performance. If you want your device to keep delivering that therapeutic 8 PPM of hydrogen, you need a strict maintenance protocol.
 bottle being held up — proper cleaning keeps hydrogen output at peak levels](/uploads/content/echo-flask-hydrogen-bottle-display.png)
Patients often come to my clinic seeking ways to accelerate muscle recovery and lower systemic inflammation. Molecular hydrogen is a powerful tool for neutralizing harmful free radicals. However, the true efficacy of the Echo Flask relies entirely on its daily operational efficiency. When patients report that their hydrogen water has lost its "kick" after a few months, the culprit is almost always a neglected generator.
The Science Behind the Spark: Why Cleaning Matters
The Echo Flask utilizes advanced Solid Polymer Electrolyte (SPE) and Proton Exchange Membrane (PEM) technology. This system relies on titanium electrode plates coated in medical-grade platinum. During electrolysis, these plates separate H2O into hydrogen and oxygen gas.
Over time, microscopic minerals from your water accumulate directly on these platinum plates. This mineral scale acts as a physical barrier and an electrical insulator. It blocks the proton exchange process, dropping your hydrogen concentration from a therapeutic 8 PPM down to a negligible 2 or 3 PPM.
Think of it like plaque restricting blood flow in an artery. A scaled-up generator simply cannot push enough electrons to saturate your water. In my clinic, I teach patients to watch for specific warning signs of scale buildup. If the dense, milky cloud of hydrogen bubbles starts looking sparse or large, your plates are compromised. A metallic or slightly off-putting flavor indicates bacterial biofilm or mineral oxidation.
Echo Flask Maintenance Schedule
To keep your Echo Flask performing at clinical standards, I prescribe the following routine to my patients:
| Cleaning Method | Frequency |
|---|---|
| Water rinse | Daily (after each use) |
| Soap wash (interior) | Weekly |
| Gasket cleaning | Weekly |
| Vinegar descaling + Clean Flask cycle | Monthly |
Cleaning the Inside of the Flask
The generator plate at the base of your flask is where the electrolysis happens. This is your primary target for maintenance.
Weekly Cleaning Routine
For your weekly routine, wash the interior with a mild, non-toxic dish soap and filtered water. I advise patients to use a flexible silicone bottle brush (about 1" diameter and 12" long) to reach the bottom without scratching the titanium plates.
Rinse thoroughly with warm filtered water. Any leftover soap residue will severely disrupt the electrolysis process and alter the water's pH. Avoid stiff or abrasive brushes that could damage the interior coatings.
Monthly Deep Cleaning & Descaling
This is the non-negotiable step for biohackers wanting maximum antioxidant potential. Descaling removes the stubborn mineral buildup that chokes the H2 generator.
- Fill the Flask with a mixture of 1/3 white vinegar and 2/3 warm distilled water. Ensure you use only 5% distilled white vinegar.
- Let it sit for 1-2 hours. The acetic acid dissolves the calcified mineral scale safely without degrading the platinum coating.
- Rinse thoroughly after the soaking period.
- Fill with filtered water and run the "Clean Flask" cycle from the settings menu. This specialized cycle reverses the polarity of the electrodes, actively repelling and flushing out any microscopic mineral debris left on the PEM membrane.
- Rinse thoroughly again after the cycle is complete to remove any residual vinegar taste.
Cleaning the Outside of the Flask
The exterior houses the lithium-ion battery and sensitive circuitry. Hand wash the outside using only a soft, damp microfiber cloth.
Never submerge the Echo Flask in water or put it in a dishwasher. Doing so will instantly short-circuit the motherboard and void your warranty. Keep the digital screen and USB-C charging port bone dry. I often recommend finding an aftermarket silicone USB-C plug to block moisture during your weekly wash routine.
Cap Care
The cap maintains the internal pressure required to force hydrogen gas into the water. Without a perfect seal, the gas simply escapes into the air.
Use a soft brush to clear debris from the cap threads. Never submerge the cap itself, as water can permanently damage the internal pressure release valve. If water does get inside the valve mechanism, let it air dry completely for 48 hours before running another cycle.
Cleaning the Gasket
The gray silicone gasket prevents leaks and stops bacterial biofilm from forming in the crevices. Neglecting it compromises both performance and hygiene.
- Use a dull tool or tweezers to carefully pry the gray gasket out of the lid, avoiding punctures.
- Cleanse the gasket with mild detergent and filtered water. You may also soak the gasket in the vinegar solution for up to 2 hours to kill any lingering bacteria.
- Make sure the gasket and surrounding areas are completely free of debris before reinserting.
- Reinsert the gasket into the lid, ensuring the "line" side faces inward. This guarantees a clinical-grade seal.
Best Practices & What to Avoid
Here is the exact protocol I give my clinical patients to protect their investment and ensure optimal hydration.
Best Practices (Pros of Proper Cleaning):
- Consistent Hydrogen Output: Ensures your device always delivers the promised 8 PPM of molecular hydrogen for maximum cellular recovery.
- Extended Device Lifespan: Prevents premature wear on the titanium electrode plates caused by mineral buildup.
- Optimal Hygiene: Keeps your water pure and free from bacterial biofilm.
- Preserved Warranty: Following manufacturer guidelines keeps your warranty intact.
What NOT to Do (Cons of Improper Cleaning):
- Never use harsh chemicals or abrasive cleaners: Bleach and harsh solvents will destroy the internal components.
- Never submerge the Flask or place it in a dishwasher: This irreparably damages the electronics.
- Never use apple cider vinegar: The residual sugars will feed bacterial growth directly on the PEM membrane. Stick to 5% distilled white vinegar.
- Never store the bottle completely dry: Always leave about 1 tablespoon of filtered water on the electrode plate. If the PEM membrane completely dehydrates, it will crack and permanently destroy the device's ability to generate hydrogen.
By treating your Echo Flask like a piece of clinical medical equipment, you guarantee its performance for years to come. Your body will thank you.
More Echo Flask Guides
- → Echo Flask Review — Full specs, pros, cons, and verdict
- → Echo Flask 8 PPM — What the hydrogen concentration means
- → Echo Flask vs Echo Go+ — Complete comparison
- [→ How to Use Echo Flask](/blog/how-to-use-echo-flask) — Step-by-step guide
Related Clinical Resources
- Recommended Guide: Read my full, hands-on review of the best hydrogen water bottles for deeper clinical insights.
- Related Review: Check out my comparative analysis on the Echo Flask Troubleshooting.